Hi Everyone!
I missed blogging and sharing my adventures! SO, I AM BACK!
On August 17th, I am going to start a second upholstery class with my friend, Carla Holley. We took our first class last summer at Yukon Oklahoma Campus of the Canadian Valley Techology School. It was a one month class and quite fast paced. The class is so popular! We had no idea it would take over a year before there would be space for us in the class!
So, I want to share my experience of one of my upholstery projects from our class, last summer.
On the first evening of the class, we had to learn how to prepare the upholstery sewing machine, sew a pillow with cording, and receive permission on our projects from the instructor. The instructor gave me a thumbs up to work on a chair.
Here is a before-photo of the poor pitiful chair. Diablo, our cat, loved digging his claws into it! I had shared a different photo of this chair, when I was trying out Lets Chip It by Sherwin Williams. (BTW: All the photos were taken with my iPhone, so, you are welcome to roll your eyes at the quality of the photos.)

The first step is to strip the chair of cording and material. FYI: it took me forever to remove all the staples out of the chair without damaging the wood!! (Carla and I quickly learned... the secret to the class ...before, the first day of class have your project stripped and ready to cover.)
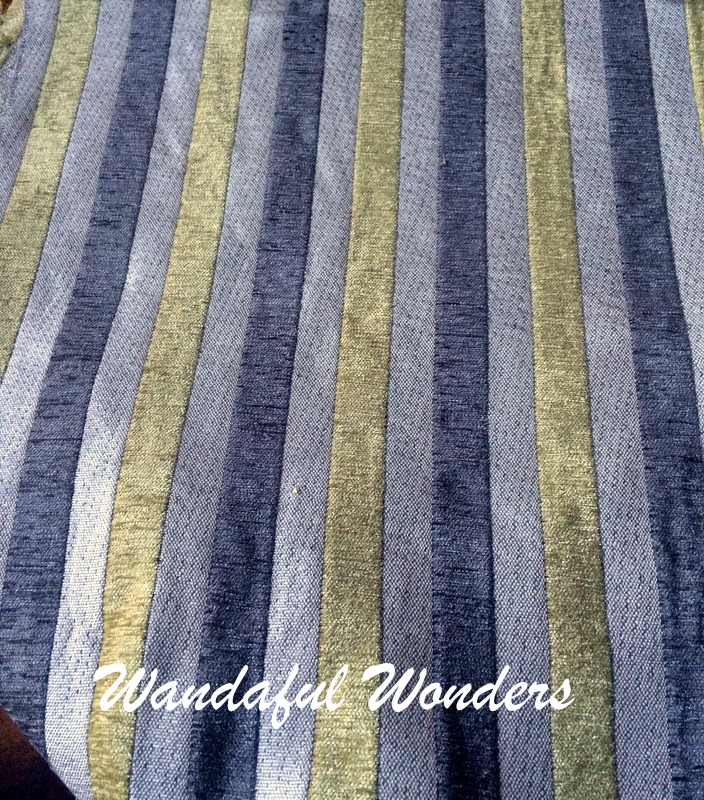
Most novices would probably choose a solid material or a print that does not have to be aligned like a stripe print, however NO Way Not ME!
I chose a STRIPED MATERIAL! The top and bottom cushion stripes must be aligned with each other! (Thank goodness for the instructor's help!)
The original cording on the chair must be measured and a new cording had to be sewn to go on the chair. A great reference for instruction of cutting bias cording is offered by the Cooperative Extension Service, University of Kentucky - College of Agriculture. (Since, I am originally from Kentucky, I just had to use this source. You can always google, "cutting bias cording" for other sources.)
The next step is to use the old material as a pattern and cut the new batting and material for the chair.
Then, the Work of centering the material to wrap, pulling HARD on the material, and stapling the material to the wood chair back and wood chair seat. (NO JOKE, about PULLING, the material should be TAUT!) My hands were sore from pulling!
After all the work, I had a cushion ready to install (screw) on to the chair.
After the cording was stapled to the bottom and top of the chair and the extra material of the cording trimmed away. I took this photo of my project!
Here is the chair sitting in the bedroom.
I am Happy with the results and I am looking forward to my second class this month! I think I am going to tackle the two wing backed chairs in the next class, if the instructor gives me the thumbs UP!
How was your first experience reupholstering furniture? Please share!
Wishing you a great weekend!
Wanda


